Lab 7 Dashboards
In this lab, you’ll learn how to customize a dashboard in Tableau.
Workbook and data
Use the dash_students.twbx file and the dash_logo.png image. Download at:
- http://becomingvisual.com/datavislab/dash_students.twbx
- http://becomingvisual.com/datavislab/dash_logo.png
Task
- Create a dashboard using floating containers
- Add pre-created worksheets and objects (text, images, and blank) to containers
- Link filters
- Format tool tips
- Publish to Tableau public
7.1 Plan on paper
Think about what key metrics you want to show on your dashboard. Sketch out a layout on paper. This will serve as a visual key of what you want where.
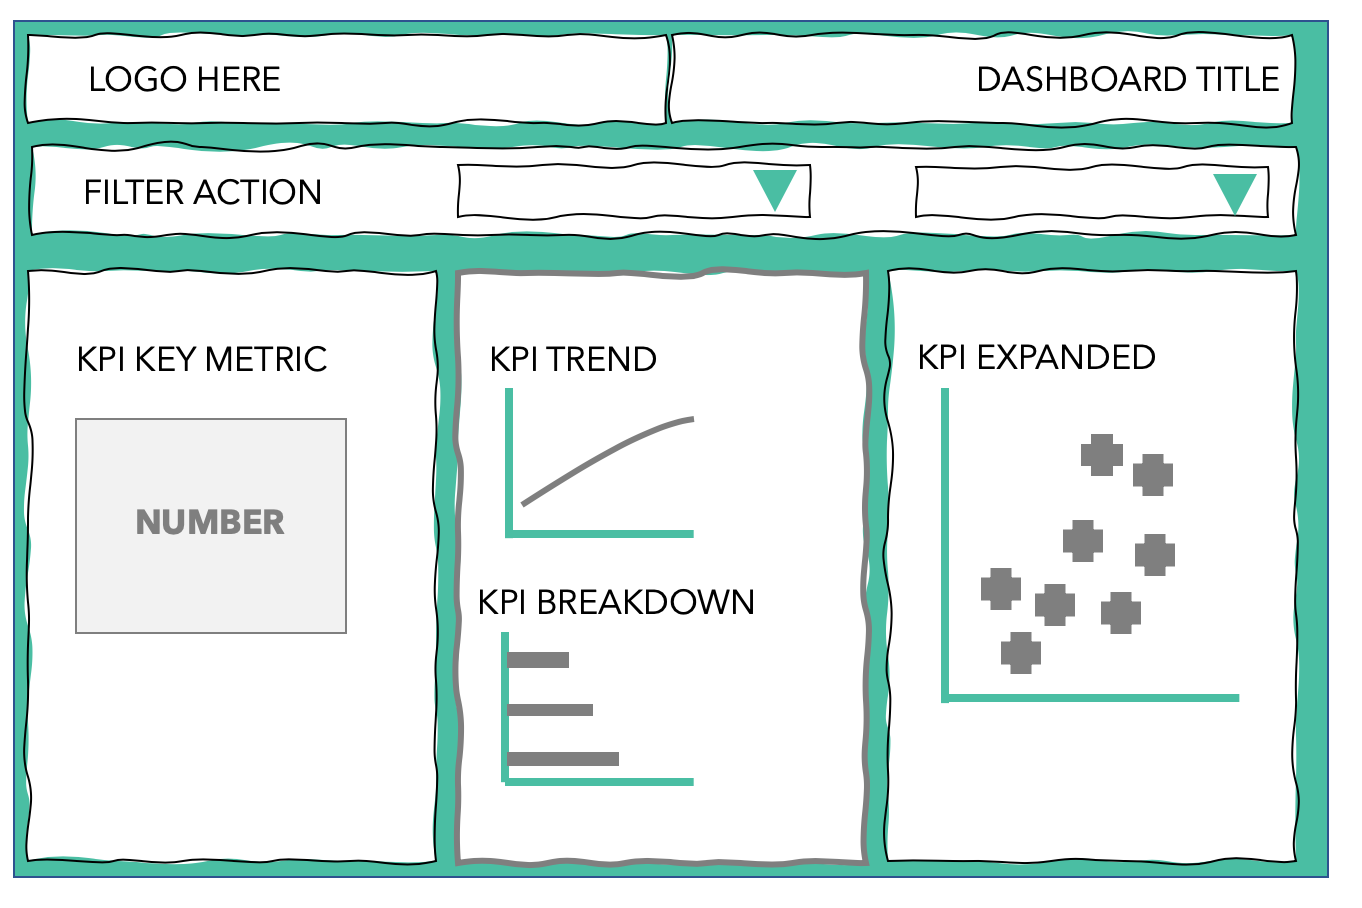
Figure 7.1: Sketch of a dashboard
7.2 Create an empty dashboard
To create an empty dashboard in an existing Tableau workbook, go to Dashboard menu and select New Dashboard.
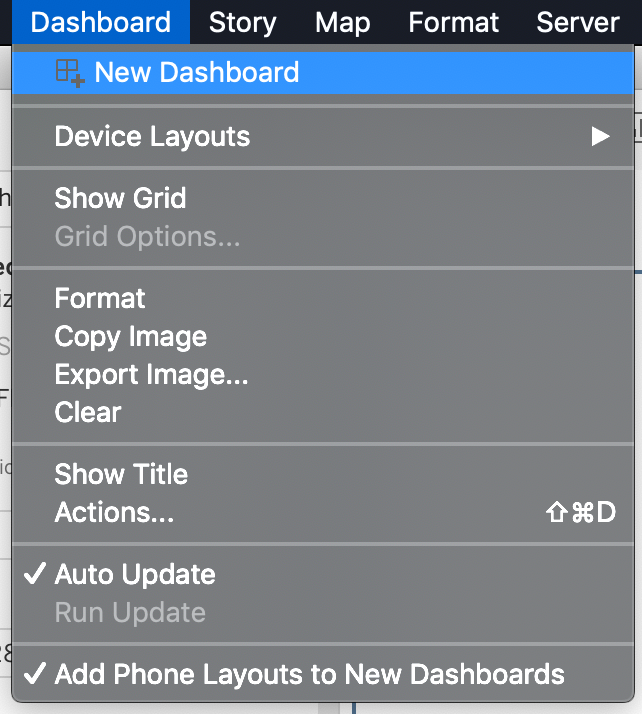
Figure 7.2: Creating a new dashboard
This will create a new Dashboard. A new tab is added to your workbook with the icon, as shown below.
Figure 7.3: Dashboard icon
Observe the two tabs on the left hand side: Dashboard and Layout
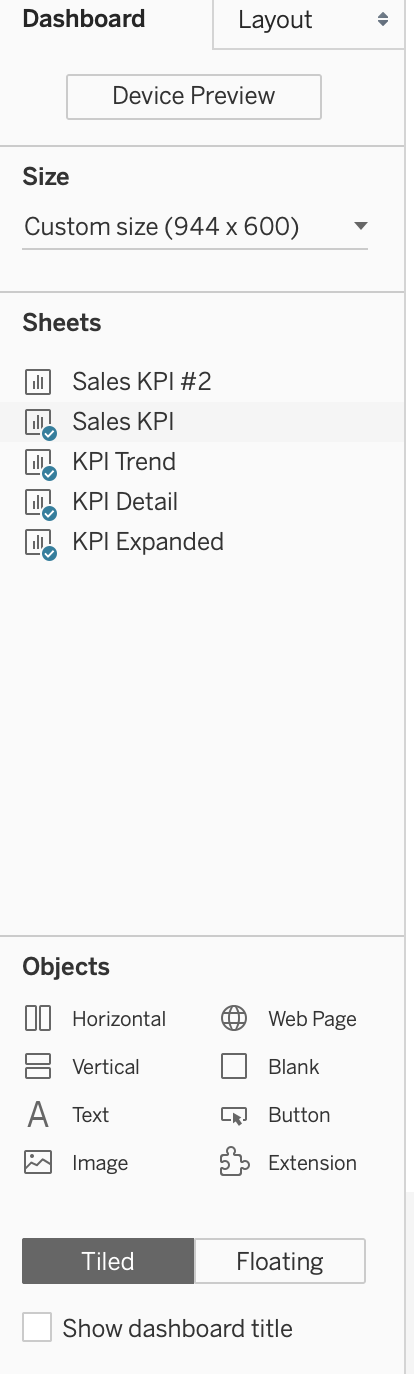
Figure 7.4: Dashboard icon
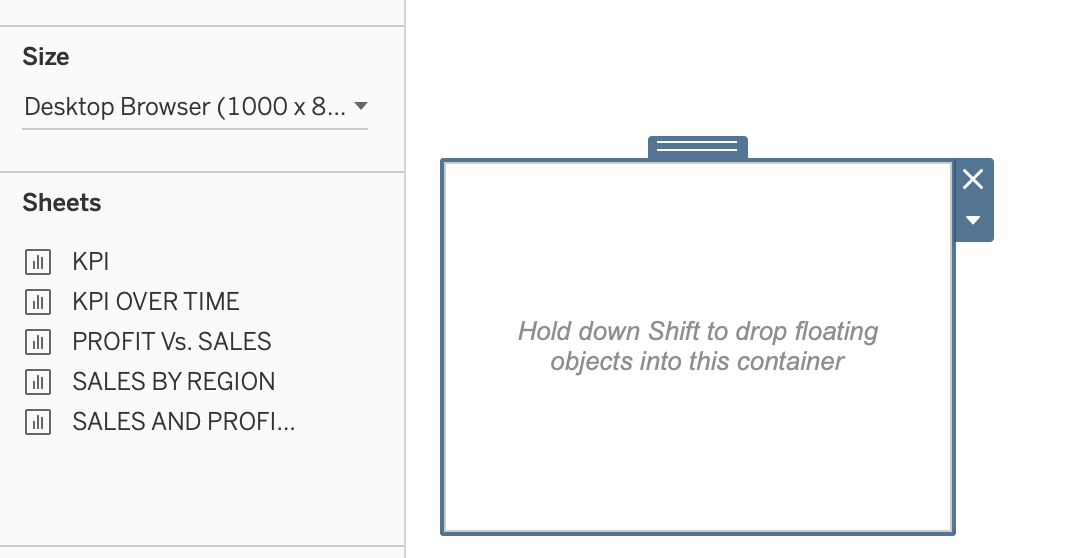
7.3 Set dashboard size
Once you create an empty dashboard, set the width and height. Do this by selecting the Dashboard on your dashboard sheet tab and select Default and set the Size to Desktop Browser (1000 x 800). The size of the dashboard is measured in pixels.
Check that the width is set to 1000 and the height is 800 pixels, see Figure 7.5.
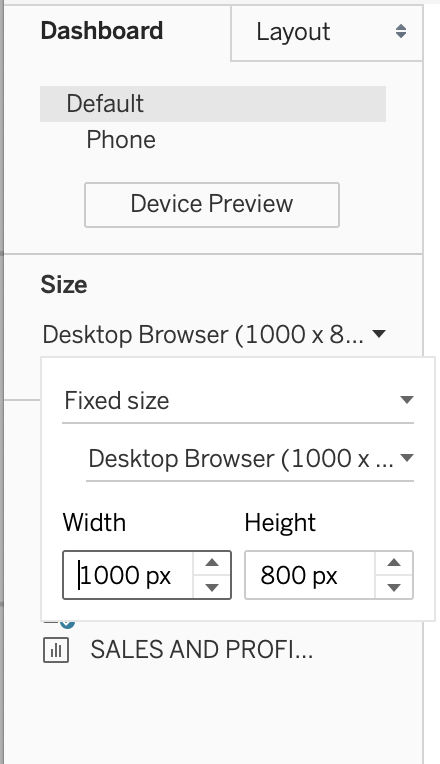
Figure 7.5: Setting the width and height of your dashboard
7.4 Set layout
There are infinite ways to layout a dashboard. Consider the following layout for your dashboard.
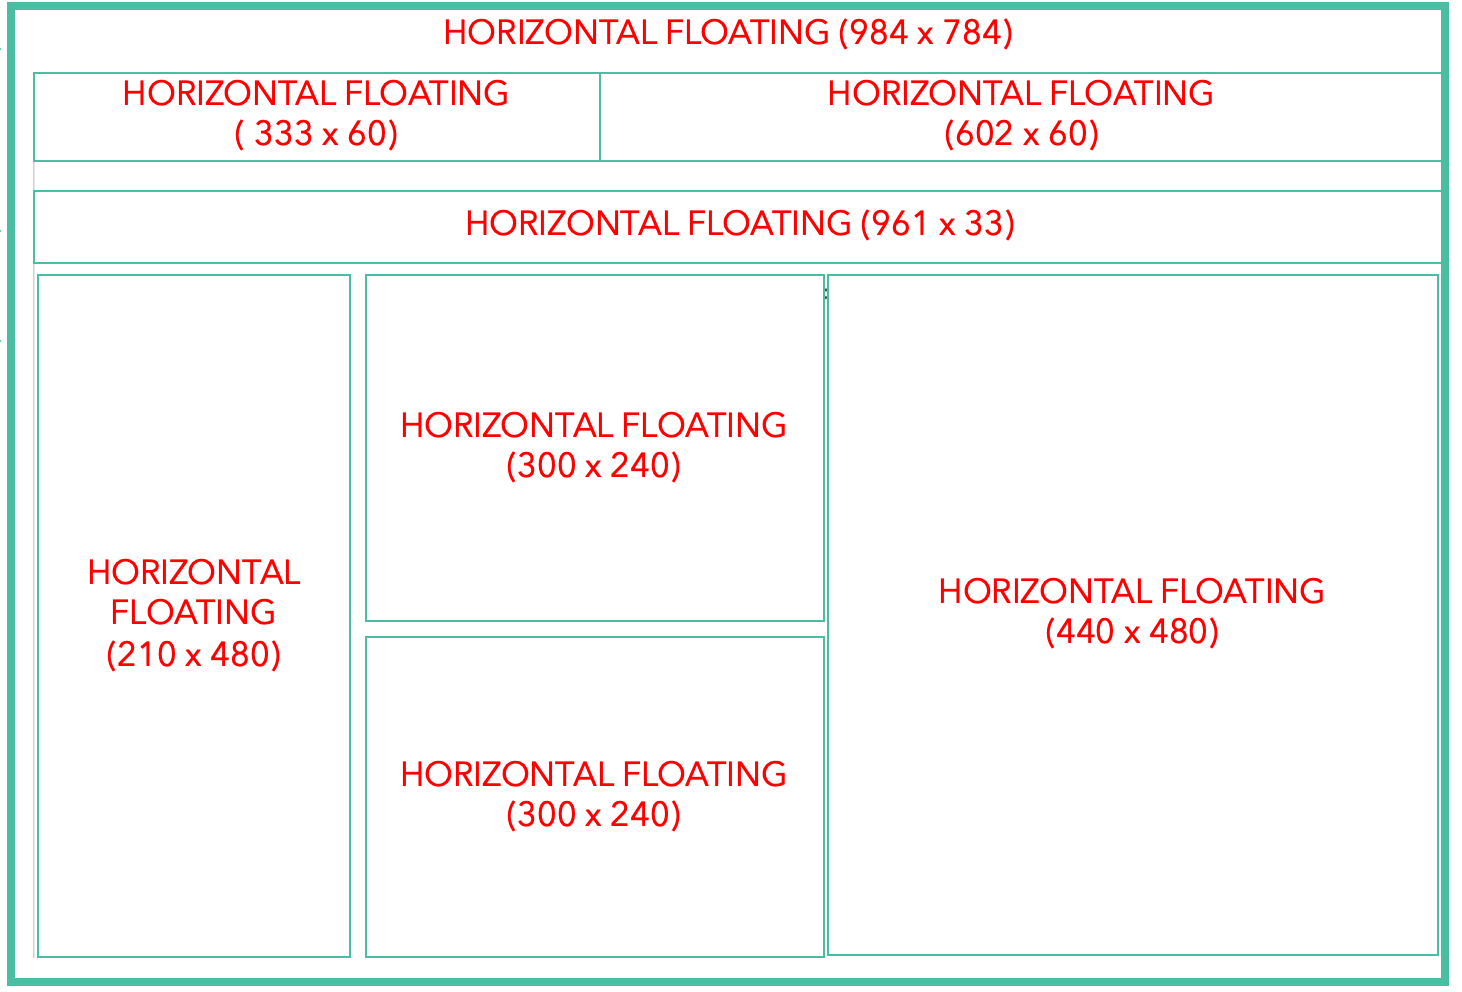
Figure 7.6: Layout by pixels
In the Dashboard tab, under Objects Choose a Floating layout. Then drag the Horizontal object to the center of the dashboard. See Figure 7.7.
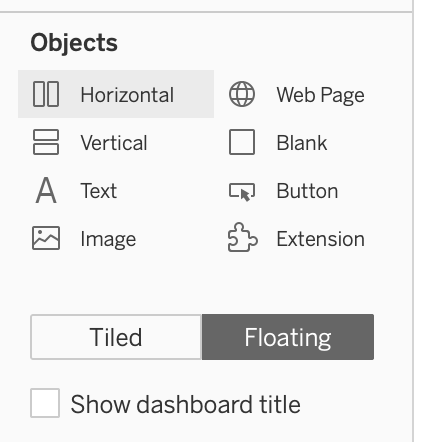
Figure 7.7: Setting the initial layout.
Set the dimensions to 984 x 784 as show in Figure 7.6 by using the layout.
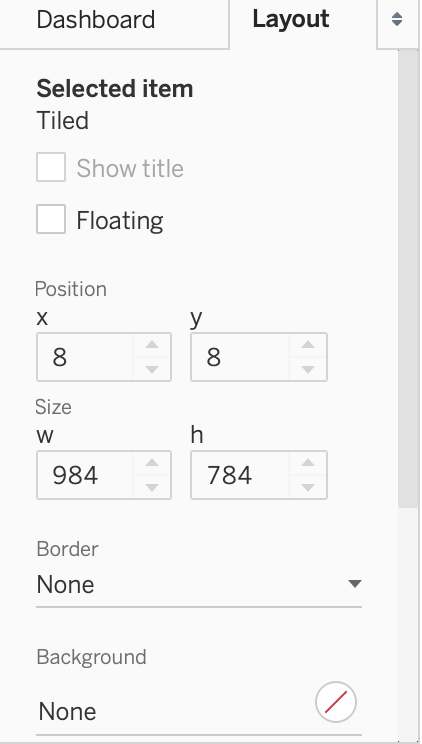
Figure 7.8: First horizontal layout container.
Next, create the remaining seven horizontal layout containers as shown in Figure 7.6. Be sure to set position and dimensions.
7.5 Add sheets in filters
Drag the appropriate worksheets to it’s corresponding container position as shown in 7.9
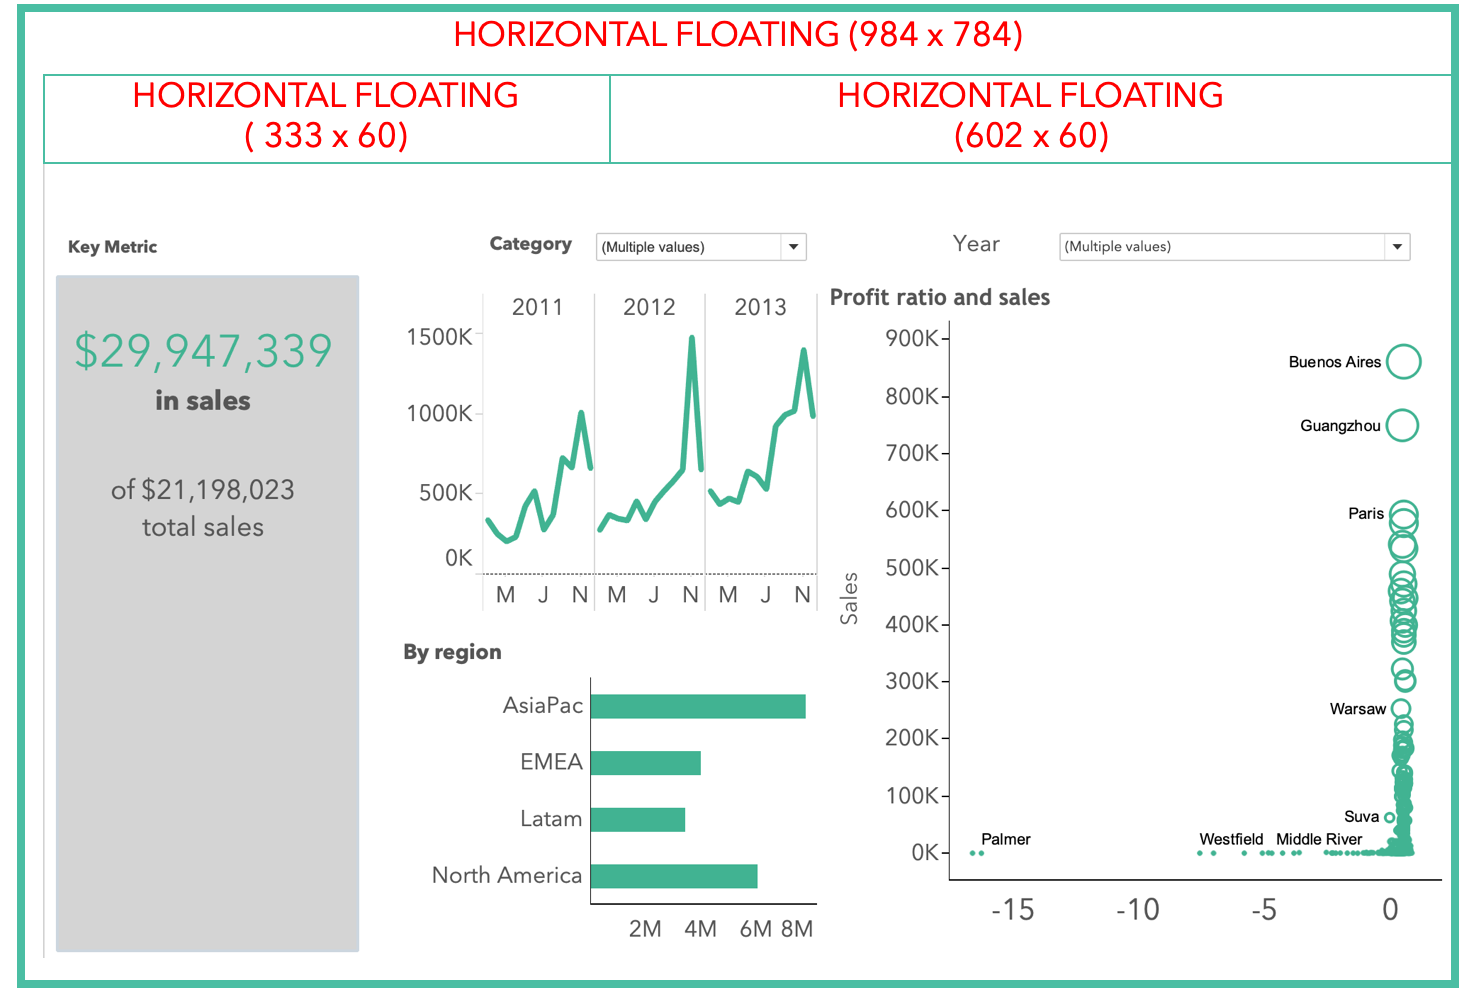
Figure 7.9: Sheets embeded in the dashboard
Select the sheet from the Sheets pane and drag worksheet to the container and click and hold the Shift key to embed the sheet in the container cell.
Arrange the sheets and filters to match 7.9.
7.6 Add Branding and text
Demonstration shown in class.
7.7 Link filters
Demonstration shown in class.
7.8 Format tooltips
Demonstration shown in class.
7.9 Publish on Tableau public
Demonstration shown in class.